Installation Guide
This guide will help you install RegressionLab on your computer. There are multiple installation methods available, from a quick automated setup to manual installation for advanced users.
Prerequisites
Before installing RegressionLab, ensure you have:
Required Software
Git: Version control system for cloning the repository.
Windows: Download from git-scm.com.
macOS: Install via Homebrew
brew install gitor download from git-scm.com.Linux:
sudo apt-get install git(Debian/Ubuntu),sudo dnf install git(Fedora),sudo zypper install git(openSUSE), orsudo pacman -S git(Arch). Theinstall.shscript can also offer to install Git automatically on supported distributions.
Python: Version 3.12 or higher (3.13 supported).
Download from python.org.
Verify installation:
python --versionorpython3 --version. On some systems (e.g. Arch Linux) the command may bepythononly; the setup script detects either.
System Requirements
Operating System: Windows 10/11, macOS 10.14+, or Linux.
RAM: 4 GB minimum, 8 GB recommended.
Disk Space: 1 GB minimum, 2 GB recommended for application and dependencies.
Display: 1280x720 minimum resolution recommended.
Installation Methods
Method 1: Quick Installation (Recommended)
This is the fastest and easiest way to install RegressionLab. The installation script will:
Clone the repository.
Create a virtual environment.
Install all dependencies.
Create a desktop shortcut.
Windows
Download the installation script:
Right-click on
install.batand select “Save link as…” to download from the repositoryOr visit the GitHub repository and download it directly
Navigate to the folder where you want to install RegressionLab
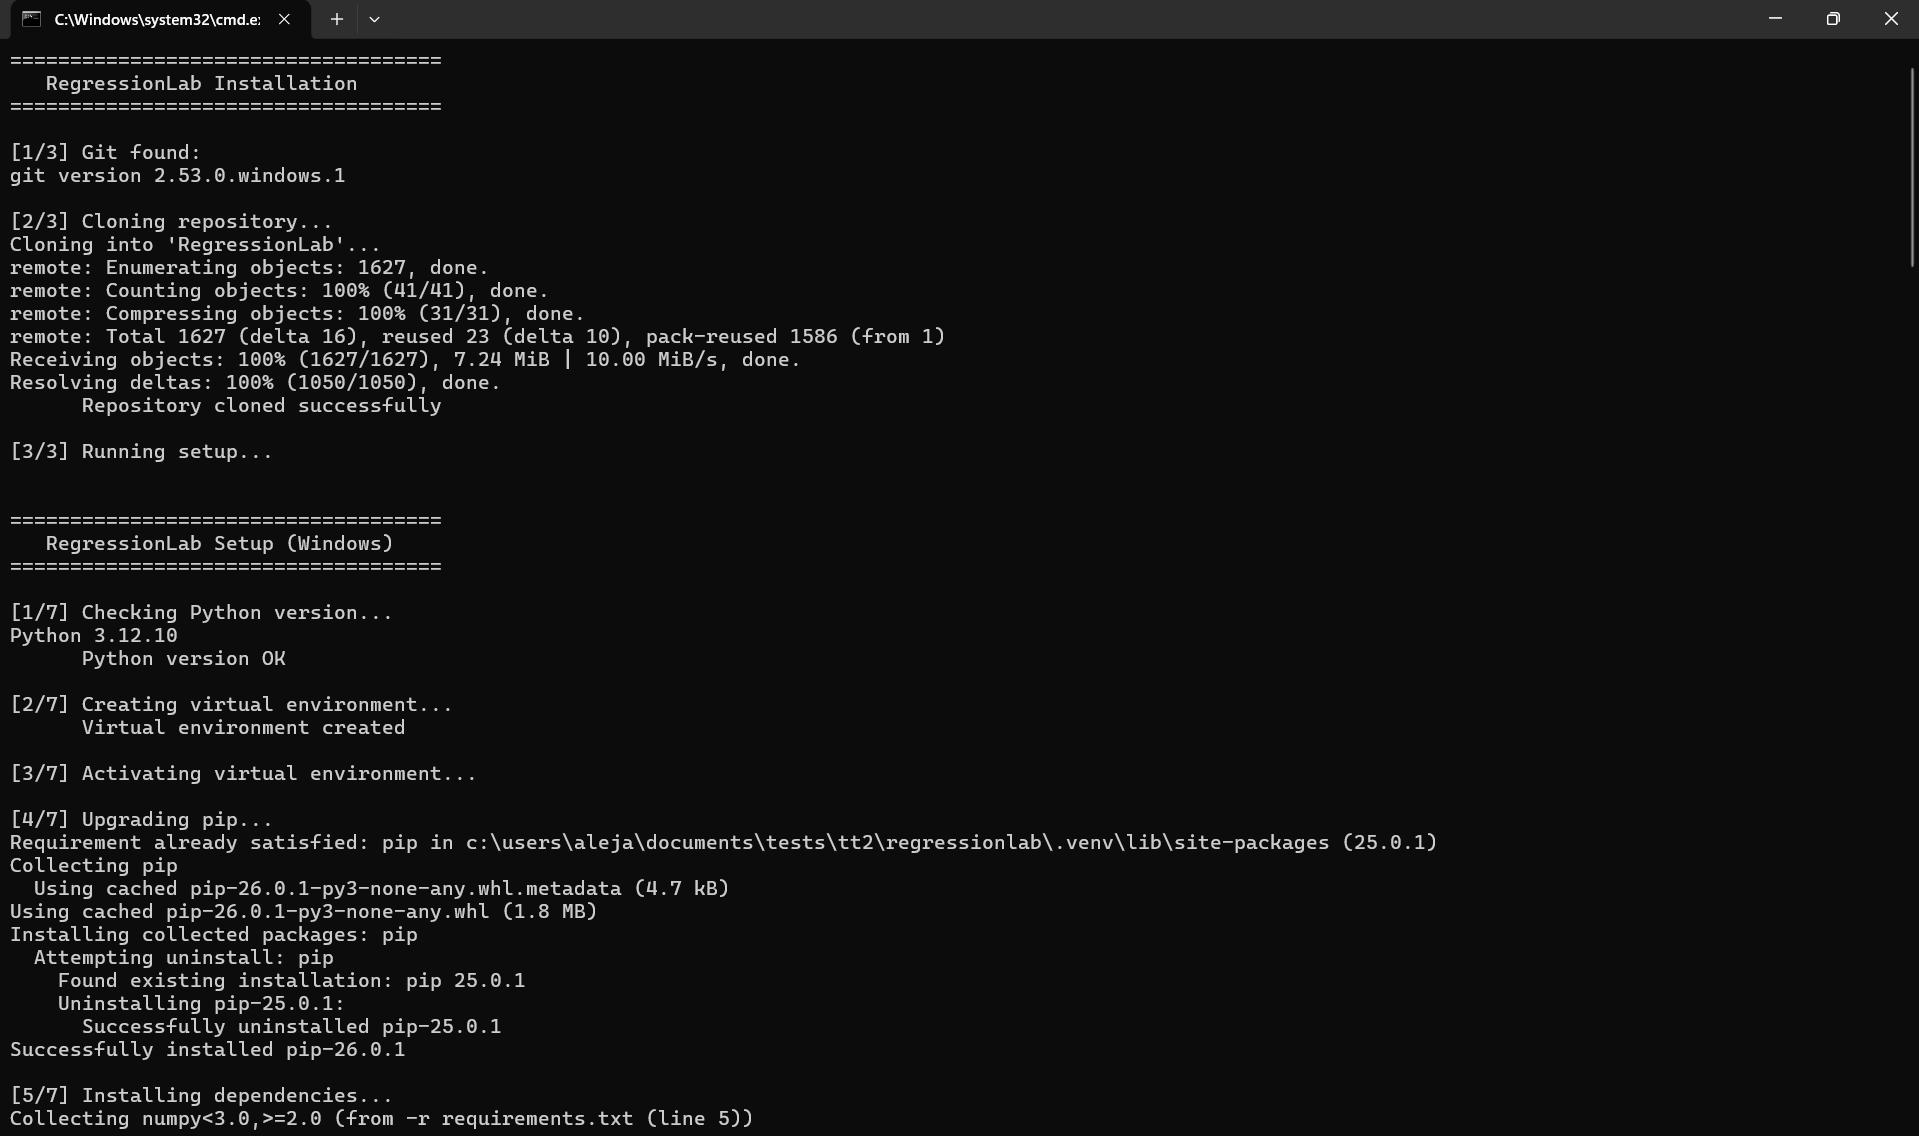
Run the installation script:
Double-click
install.bat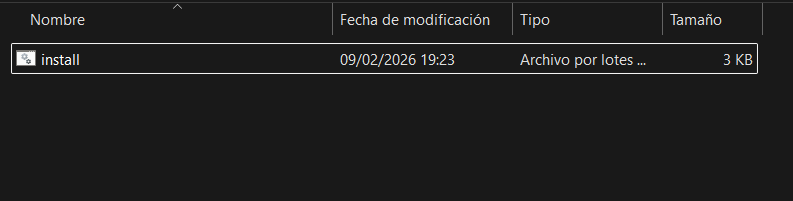
Or open Command Prompt/PowerShell in the folder and run:
install.bat
Wait for the installation to complete. The script will:
Clone the repository into a
RegressionLabfolder.Set up a Python virtual environment.
Install all required dependencies.
Create a desktop shortcut named “RegressionLab”.
Launch RegressionLab:
Double-click the desktop shortcut
Or run
bin\run.batfrom the installation folder
macOS / Linux
Download the installation script:
Right-click on
install.shand select “Save link as…” to download from the repositoryOr visit the GitHub repository and download it directly
Or use wget/curl:
wget https://raw.githubusercontent.com/DOKOS-TAYOS/RegressionLab/main/install.sh
# or
curl -O https://raw.githubusercontent.com/DOKOS-TAYOS/RegressionLab/main/install.sh
Make the script executable:
chmod +x install.sh
Run the installation script:
./install.sh
Wait for the installation to complete. The script will:
Check Git: If Git is not installed, on Linux it will offer to install it automatically (apt, dnf, yum, zypper, or pacman depending on your distribution).
Clone the repository into a
regressionlabfolder in the current directory. If this folder already exists, you will be asked whether to remove it and clone again, or to runsetup.shin the existing directory.Run
setup.shinside the cloned repository. The setup script will:Check Python 3.12+; on Linux it can offer to install Python 3.12 automatically if missing.
Check Tkinter; on Linux it can install the system package (
python3.12-tk,python3-tkinter, etc.) if needed.Create a virtual environment in
.venv.Install dependencies from
requirements.txt.Create
.envfrom.env.example.Create a desktop shortcut (
RegressionLab.desktop) on Desktop, Escritorio, or your home directory.
Launch RegressionLab:
Double-click the desktop shortcut (if supported)
Or run
bin/run.shfrom the installation folder:cd regressionlab ./bin/run.sh
Method 2: Installation with Git
This method gives you more control over where the repository is cloned and allows you to easily update the application.
Step 1: Clone the Repository
git clone https://github.com/DOKOS-TAYOS/RegressionLab.git
cd RegressionLab
Step 2: Choose Your Setup Method
Option A: Automated Setup (Recommended)
Windows:
setup.bat
macOS/Linux:
chmod +x setup.sh
./setup.sh
This will:
Check Python 3.12+ (on Linux, optionally install it if missing).
Check Tkinter (on Linux, optionally install the system package if missing).
Create a virtual environment in
.venv.Install all dependencies.
Create a desktop shortcut.
Copy
.env.exampleto.env.
Option B: Manual Virtual Environment Setup
Windows:
# Create virtual environment
python -m venv .venv

# Activate virtual environment
.venv\Scripts\activate

# Install dependencies
pip install -r requirements.txt

# Copy environment configuration
copy .env.example .env
macOS/Linux:
# Create virtual environment
python3 -m venv .venv

# Activate virtual environment
source .venv/bin/activate

# Install dependencies
pip install -r requirements.txt

# Copy environment configuration
cp .env.example .env
Option C: Using Poetry (Advanced)
If you prefer Poetry for dependency management:
# Install Poetry if not already installed
pip install poetry

# Install dependencies
poetry install

# Activate the virtual environment
poetry shell
Method 3: Manual Installation (Advanced Users)
For users who want complete control over the installation process:
Step 1: Download or Clone the Repository
git clone https://github.com/DOKOS-TAYOS/RegressionLab.git
cd RegressionLab
Or download the ZIP file from GitHub and extract it.
Step 2: Create Virtual Environment (Optional but Recommended)
Windows:
python -m venv venv
venv\Scripts\activate
macOS/Linux:
python3 -m venv venv
source venv/bin/activate
Step 3: Install Dependencies
Choose one of the following methods:
Using requirements.txt:
pip install -r requirements.txt
Using pyproject.toml:
pip install .
This installs the same runtime dependencies as requirements.txt (including Pillow and Streamlit).
For development (testing, linting with Ruff, formatting with Black, type checking with mypy, pre-commit):
pip install -r requirements-dev.txt
# or
pip install -e ".[dev]"
Step 4: Configure Environment
# Copy the example configuration
cp .env.example .env

# Edit .env with your preferred text editor
nano .env  # or vim, code, notepad, etc.
See the Configuration Guide for details on available options.
Step 5: Verify Installation
Test that everything is working (from the project root, with virtual environment activated if you use one):
# Desktop application (Tkinter)
python src/main_program.py
# Or: bin\run.bat (Windows) / ./bin/run.sh (Linux/macOS)

# Web version (Streamlit)
streamlit run src/streamlit_app/app.py
# Or: bin\run_streamlit.bat (Windows) / ./bin/run_streamlit.sh (Linux/macOS)
Running RegressionLab
After installation, you can run RegressionLab in several ways:
Desktop Version (Tkinter)
Method 1: Desktop Shortcut
Double-click the “RegressionLab” shortcut on your desktop
Method 2: Shell Scripts
The bin/ scripts activate the project virtual environment and run the app. They require that you have run setup.bat (Windows) or setup.sh (macOS/Linux) first; otherwise they exit with “Virtual environment not found”.
Windows:
bin\run.bat
macOS/Linux:
./bin/run.sh
Method 3: Direct Python Execution
# Activate virtual environment first
pythonw src/main_program.py
Web Version (Streamlit)
Method 1: Shell Scripts
Same as the desktop version: ensure the virtual environment exists (run setup first). Then:
Windows:
bin\run_streamlit.bat
macOS/Linux:
./bin/run_streamlit.sh
Method 2: Direct Streamlit Command
streamlit run src/streamlit_app/app.py
Method 3: Online Version
Access the hosted version at: https://regressionlab.streamlit.app/
Updating RegressionLab
In-App Update Check (Tkinter, Git Install)
If you installed RegressionLab via Git and use the Tkinter desktop app, the app checks for updates once a week when you open it. If a newer version is available, a dialog asks whether you want to update. If you confirm, the app runs git pull --ff-only to update the code without creating automatic merge commits. Your input/, output/ folders and .env file are not modified.
You can disable this in Configure → Updates (CHECK_UPDATES=false in .env) or force a check every time (CHECK_UPDATES_FORCE=true). See the Configuration Guide for details.
If Installed via Git (Manual Update)
cd RegressionLab
git pull origin main

# Update dependencies
pip install -r requirements.txt --upgrade
If Installed via Download
Download the latest version and repeat the installation process, or switch to the Git method for easier updates.
Troubleshooting Installation
Python Not Found
Error: 'python' is not recognized as an internal or external command
Solution:
Ensure Python is installed and added to PATH.
Try using
python3instead ofpython.Reinstall Python and check “Add Python to PATH” during installation.
Permission Denied (macOS/Linux)
Error: Permission denied when running shell scripts
Solution:
chmod +x install.sh
chmod +x setup.sh
chmod +x bin/run.sh
chmod +x bin/run_streamlit.sh
Module Not Found
Error: ModuleNotFoundError: No module named 'numpy' (or other modules)
Solution:
Ensure virtual environment is activated.
Reinstall dependencies:
pip install -r requirements.txt.Check that you’re using the correct Python interpreter.
Virtual Environment Issues
Error: Virtual environment activation fails
Solution Windows:
Run PowerShell as Administrator
Execute:
Set-ExecutionPolicy RemoteSignedTry activating again
Solution macOS/Linux:
Ensure
.venv/bin/activateexistsCheck Python installation:
python3 --version
Git Clone Fails
Error: fatal: unable to access 'https://github.com/...'
Solution:
Check internet connection.
Verify Git is installed:
git --version.Try using HTTPS instead of SSH or vice versa.
Uninstalling RegressionLab
To remove RegressionLab from your system:
Delete the RegressionLab folder.
Delete the desktop shortcut (if created).
Remove the virtual environment (if created separately).
# macOS/Linux
rm -rf RegressionLab
rm ~/Desktop/RegressionLab.desktop

# Windows (Command Prompt)
rmdir /s RegressionLab
del %USERPROFILE%\Desktop\RegressionLab.lnk
Next Steps
Now that RegressionLab is installed:
Configure: Customize your settings in the Configuration Guide.
Learn: Read the User Guide to understand how to use RegressionLab.
Explore: Try the different operation modes with sample datasets in the
input/folder.
Having issues? Check the Troubleshooting Guide or open an issue on GitHub.